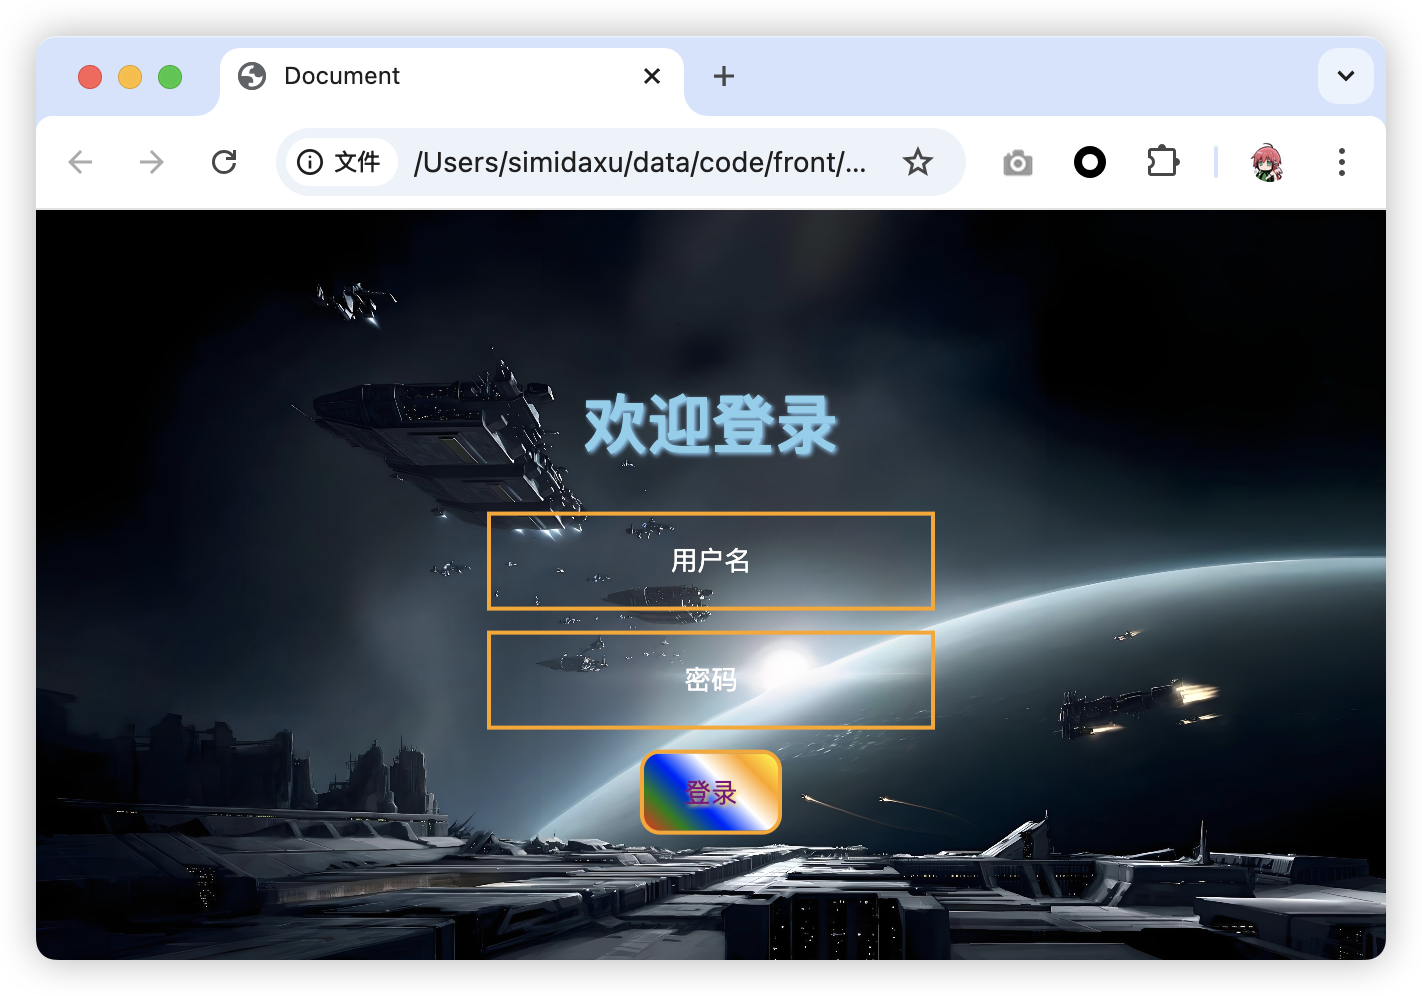
9.2 KiB
9.2 KiB
CSS
css主要用于定义页面效果
所有的页面效果属性:https://main.eagleslab.com/css3/
应用方式
- 行内样式
- 将css属性,直接写在标签style属性中
- 只适用于简单的样式,如果比较复杂,就会难以维护
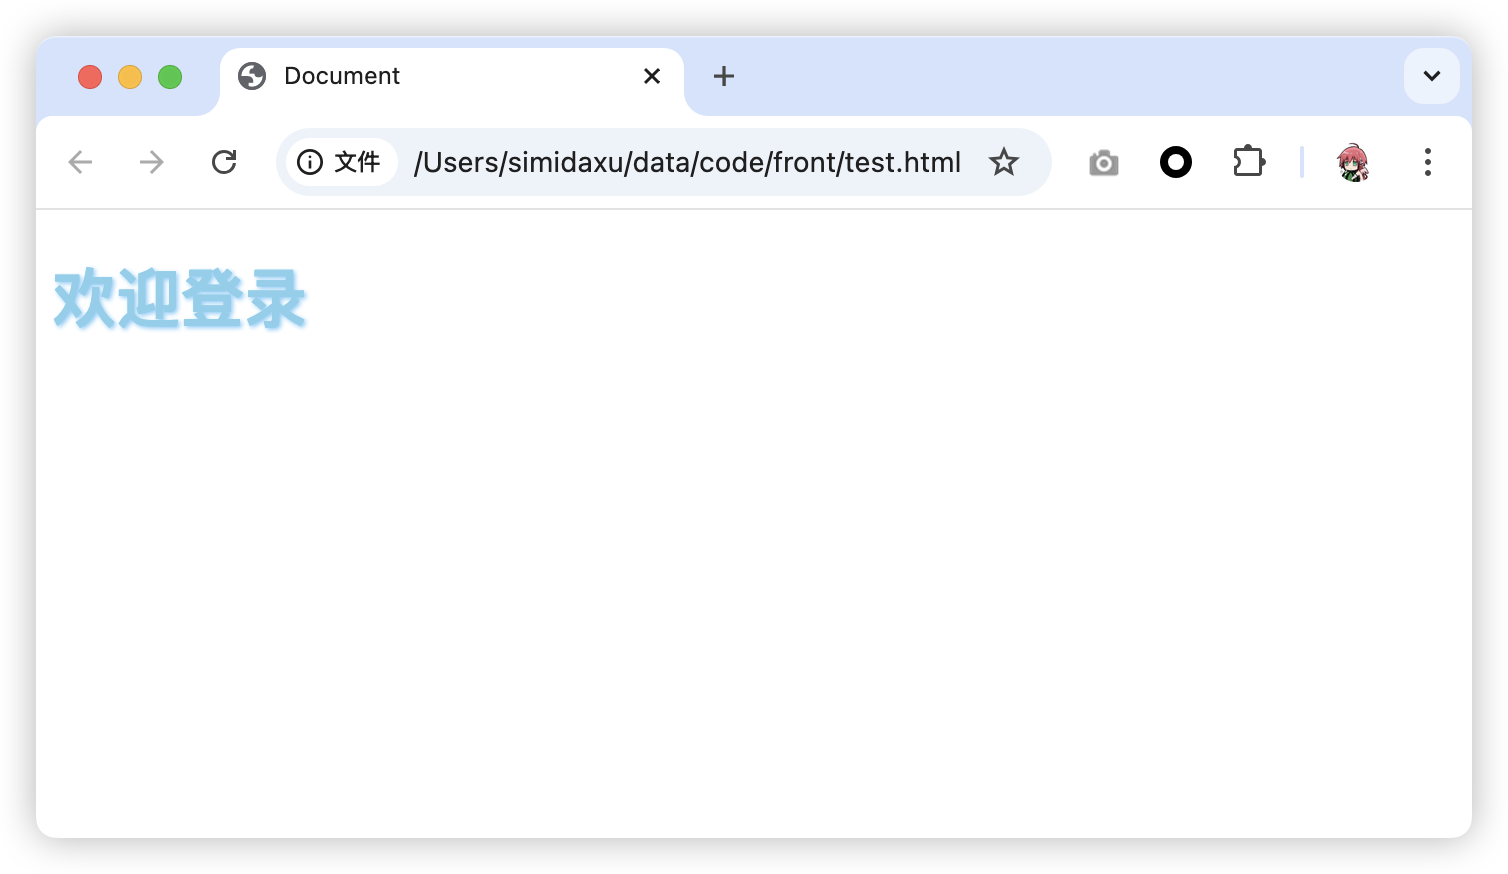
<h1 style="color: skyblue;text-shadow: 1px 1px 2px lightskyblue;">欢迎登录</h1>
<!-- color属性适用于修改文字颜色 -->
<!-- text-shadow属性可以用于给文字添加阴影效果 -->
- 内部样式
- 在head标签中写上style标签,并且在标签内写上css
- 必须要有选择器,用于选择生效的范围
- 标签选择器,直接写标签名
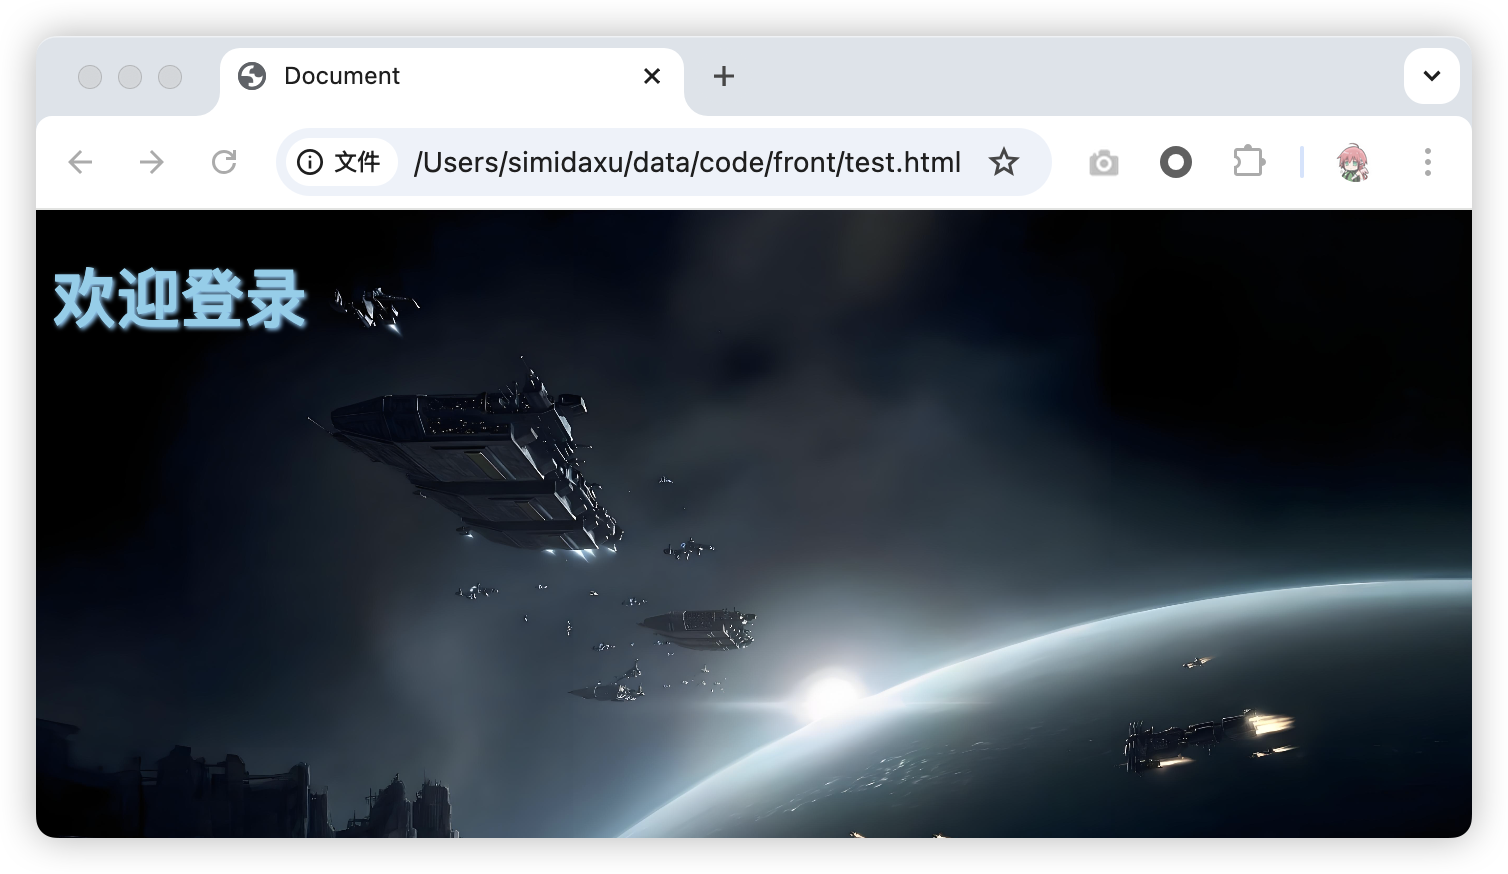
<style>
    body {
        /* 修改背景 */
        background: url("images/1.jpeg");
        /* 背景图 */
        background-position: center 0;
        /* 背景水平居中,后面的0表示上下不动 */
        background-repeat: no-repeat;
        /* 背景图不要重复 */
        background-size: cover;
        /* 背景图大小自动铺满屏幕 */
    }
</style>
- id选择器
- 在标签中可以加上id属性,用于标识唯一的元素
- 需要在对应的标签加上id属性
- 用#在id前作为选择器
<!DOCTYPE html>
<html lang="en">

<head>
    <meta charset="UTF-8">
    <meta name="viewport" content="width=device-width, initial-scale=1.0">
    <title>Document</title>
    <style>
        body {
            /* 修改背景 */
            background: url("images/1.jpeg");
            /* 背景图 */
            background-position: center 0;
            /* 背景水平居中,后面的0表示上下不动 */
            background-repeat: no-repeat;
            /* 背景图不要重复 */
            background-size: cover;
            /* 背景图大小自动铺满屏幕 */
        }

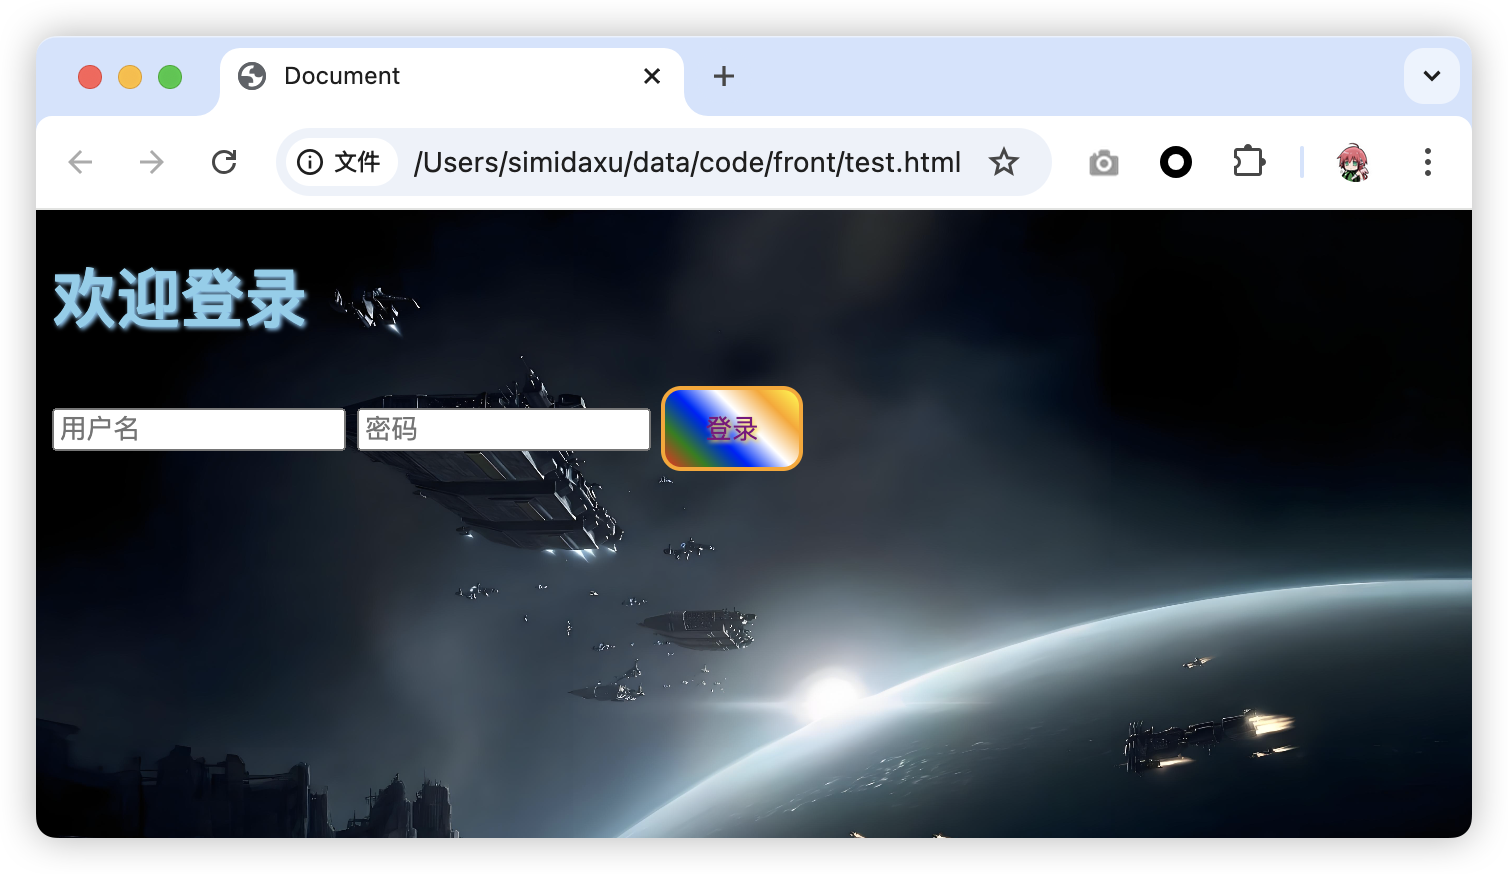
        #login_btn {
            color: purple;
            background: linear-gradient(45deg, red, green, blue, white, orange, yellow);
            /* 生成渐变色 */
            border: 2px solid orange;
            /* 边框2px宽,实线,橙色 */
            border-radius: 10px;
            /* 边角圆度10px */
            padding: 10px 20px;
            /* 内边距,可以看到背景被撑大 */
            text-shadow: 1px 1px 2px gold;
            /* 文字的阴影效果,上下1px 左右1px 模糊程度2px 颜色gold */
        }
    </style>
</head>

<body>
    <form action="">
        <h1 style="color: skyblue;text-shadow: 1px 1px 2px lightskyblue;">欢迎登录</h1>
        <input type="text" placeholder="用户名">
        <input type="password" placeholder="密码">
        <input type="submit" id="login_btn" value="登录">
    </form>
</body>

</html>
- class选择器
- 需要在对应的标签加上class属性
- 在前面加上.
<!DOCTYPE html>
<html lang="en">

<head>
    <meta charset="UTF-8">
    <meta name="viewport" content="width=device-width, initial-scale=1.0">
    <title>Document</title>
    <style>
        body {
            /* 修改背景 */
            background: url("images/1.jpeg");
            /* 背景图 */
            background-position: center 0;
            /* 背景水平居中,后面的0表示上下不动 */
            background-repeat: no-repeat;
            /* 背景图不要重复 */
            background-size: cover;
            /* 背景图大小自动铺满屏幕 */
        }

        #login_btn {
            color: purple;
            background: linear-gradient(45deg, red, green, blue, white, orange, yellow);
            /* 生成渐变色 */
            border: 2px solid orange;
            /* 边框2px宽,实线,橙色 */
            border-radius: 10px;
            /* 边角圆度10px */
            padding: 10px 20px;
            /* 内边距,可以看到背景被撑大 */
            text-shadow: 1px 1px 2px gold;
            /* 文字的阴影效果,上下1px 左右1px 模糊程度2px 颜色gold */
        }

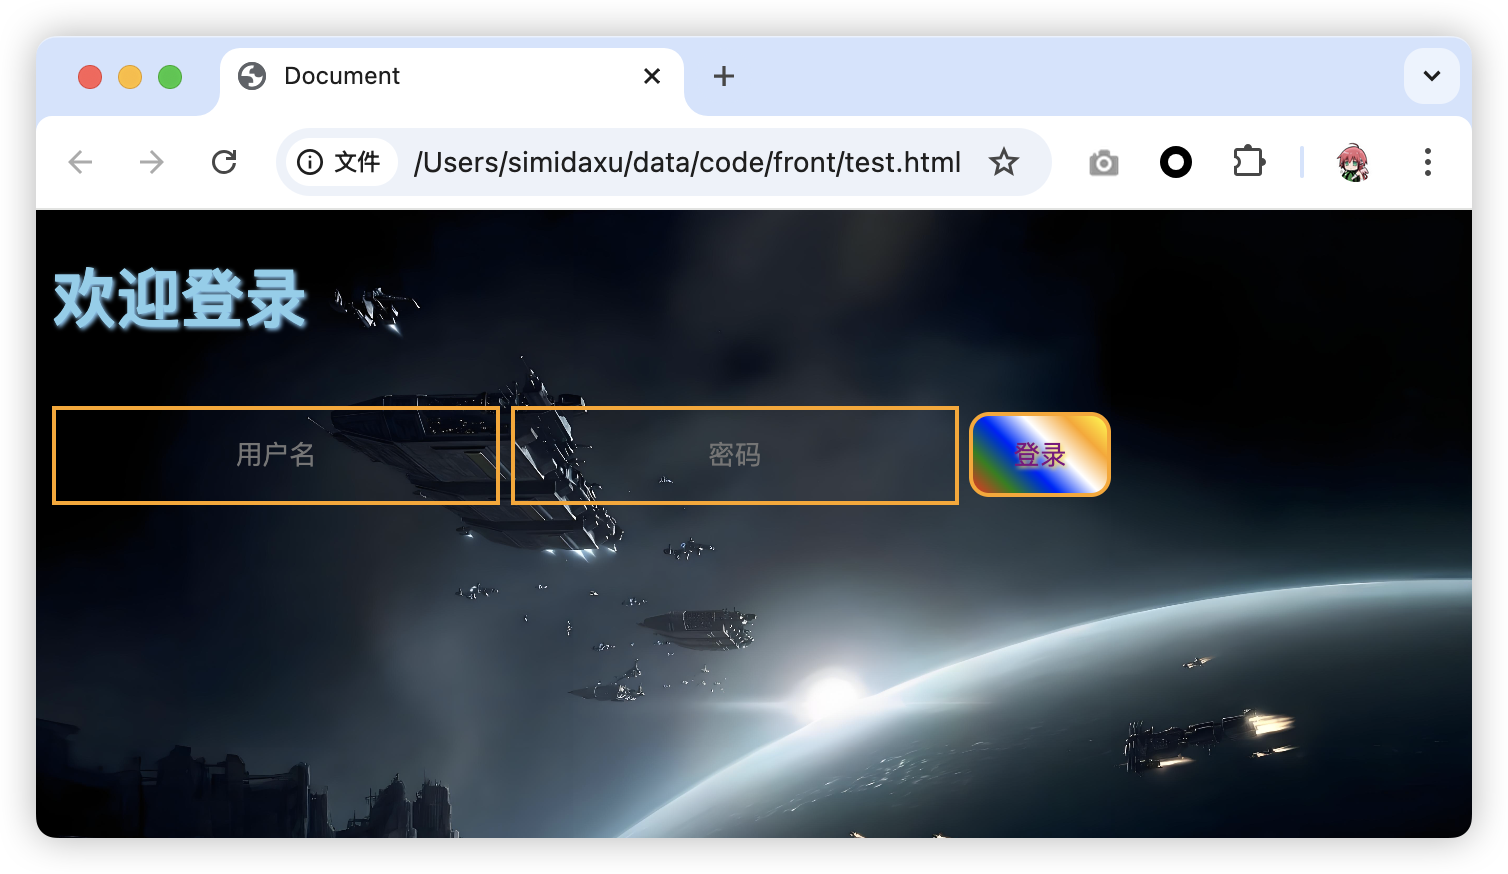
        .input_text {
            background: none;
            /* 去除背景 */
            border: 2px solid orange;
            padding: 15px 20px;
            margin: 10px auto;
            /* 外边距,上下10px,左右居中自动调整 */
            width: 180px;
            /* 宽度 */
            text-align: center;
            /* 文字居中 */
            outline: none;
            /* 外部的线,只有文本框被选择的时候出现 */
            color: white;
        }
    </style>
</head>

<body>
    <form action="">
        <h1 style="color: skyblue;text-shadow: 1px 1px 2px lightskyblue;">欢迎登录</h1>
        <input type="text" class="input_text" placeholder="用户名">
        <input type="password" class="input_text" placeholder="密码">
        <input type="submit" id="login_btn" value="登录">
    </form>
</body>

</html>
布局
- div标签
- 本身没有任何的效果,用于将多个标签组合
- 往往需要搭配id、class选择器和css一起使用
- 会占据一整行
- span标签
- 本身没有任何的效果,用于将多个标签组合
- 往往需要搭配id、class选择器和css一起使用
- 不会占据一整行
如果想要将一些元素作为一个整体进行布局,可以加上div
<!DOCTYPE html>
<html lang="en">

<head>
    <meta charset="UTF-8">
    <meta name="viewport" content="width=device-width, initial-scale=1.0">
    <title>Document</title>
    <style>
        body {
            /* 修改背景 */
            background: url("images/1.jpeg");
            /* 背景图 */
            background-position: center 0;
            /* 背景水平居中,后面的0表示上下不动 */
            background-repeat: no-repeat;
            /* 背景图不要重复 */
            background-size: cover;
            /* 背景图大小自动铺满屏幕 */
        }

        #login_btn {
            color: purple;
            background: linear-gradient(45deg, red, green, blue, white, orange, yellow);
            /* 生成渐变色 */
            border: 2px solid orange;
            /* 边框2px宽,实线,橙色 */
            border-radius: 10px;
            /* 边角圆度10px */
            padding: 10px 20px;
            /* 内边距,可以看到背景被撑大 */
            text-shadow: 1px 1px 2px gold;
            /* 文字的阴影效果,上下1px 左右1px 模糊程度2px 颜色gold */
        }

        .input_text {
            background: none;
            /* 去除背景 */
            border: 2px solid orange;
            padding: 15px 20px;
            margin: 10px auto;
            /* 外边距,上下10px,左右居中自动调整 */
            width: 180px;
            /* 宽度 */
            text-align: center;
            /* 文字居中 */
            outline: none;
            /* 外部的线,只有文本框被选择的时候出现 */
            color: white;
            display: block;
            /* 改inline模式为block */
        }

        .input_text::placeholder {
            /* input框中的提示文字样式 */
            color: white;
        }

        .box {
            position: absolute;
            /* 修改基于窗口的绝对定位 */
            left: 50%;
            /* 离窗口左边50% */
            top: 50%;
            /* 离窗口顶部50% */
            transform: translate(-50%, -50%);
            /* 将元素调整到正中间 */
            text-align: center;
            /* 内部的文字居中 */
        }
    </style>
</head>

<body>
    <div class="box">
        <form action="">
            <h1 style="color: skyblue;text-shadow: 1px 1px 2px lightskyblue;">欢迎登录</h1>
            <input type="text" class="input_text" placeholder="用户名">
            <input type="password" class="input_text" placeholder="密码">
            <input type="submit" id="login_btn" value="登录">
        </form>
    </div>

</body>

</html>
伪类选择器
当触发某种行为的时候,应用的css样式
focus
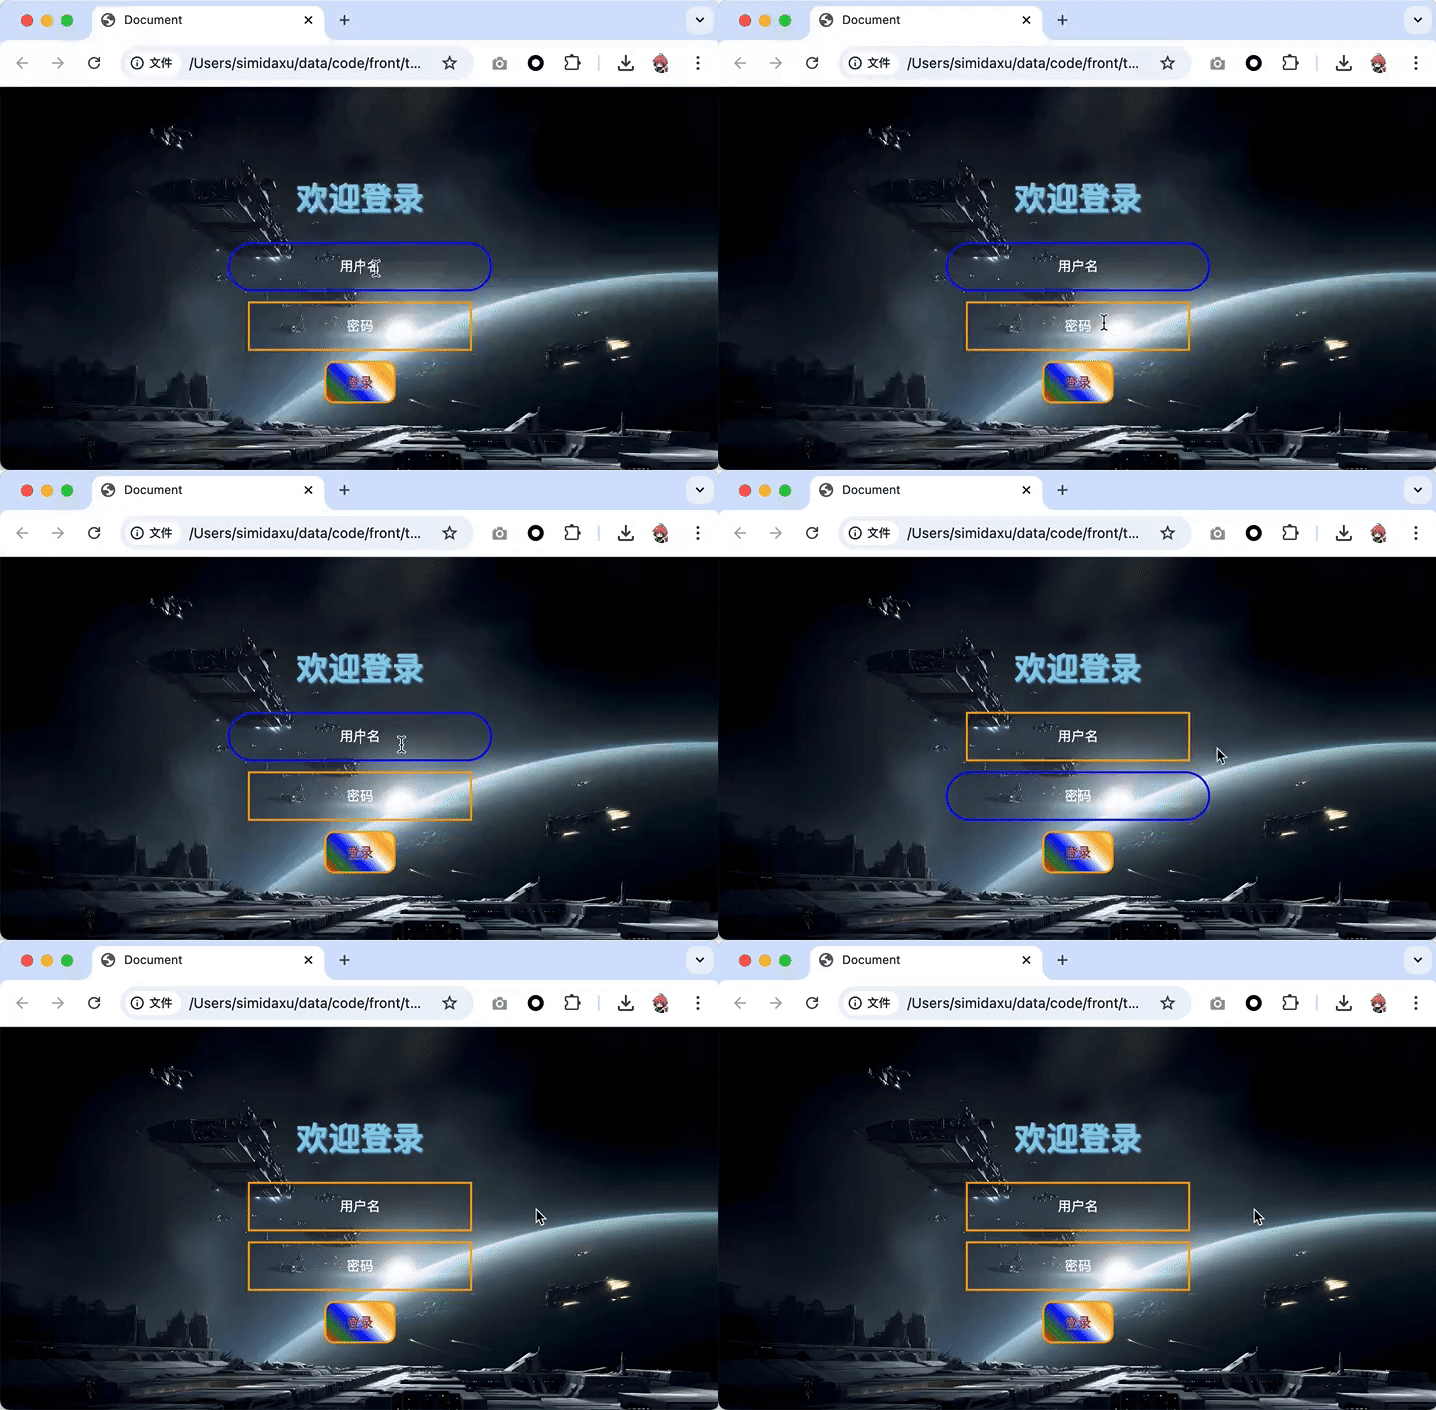
当文本框获取光标的时候,会应用的样式
.input_text:focus {
    width: 220px;
    border-radius: 30px;
    border-color: blue;
}
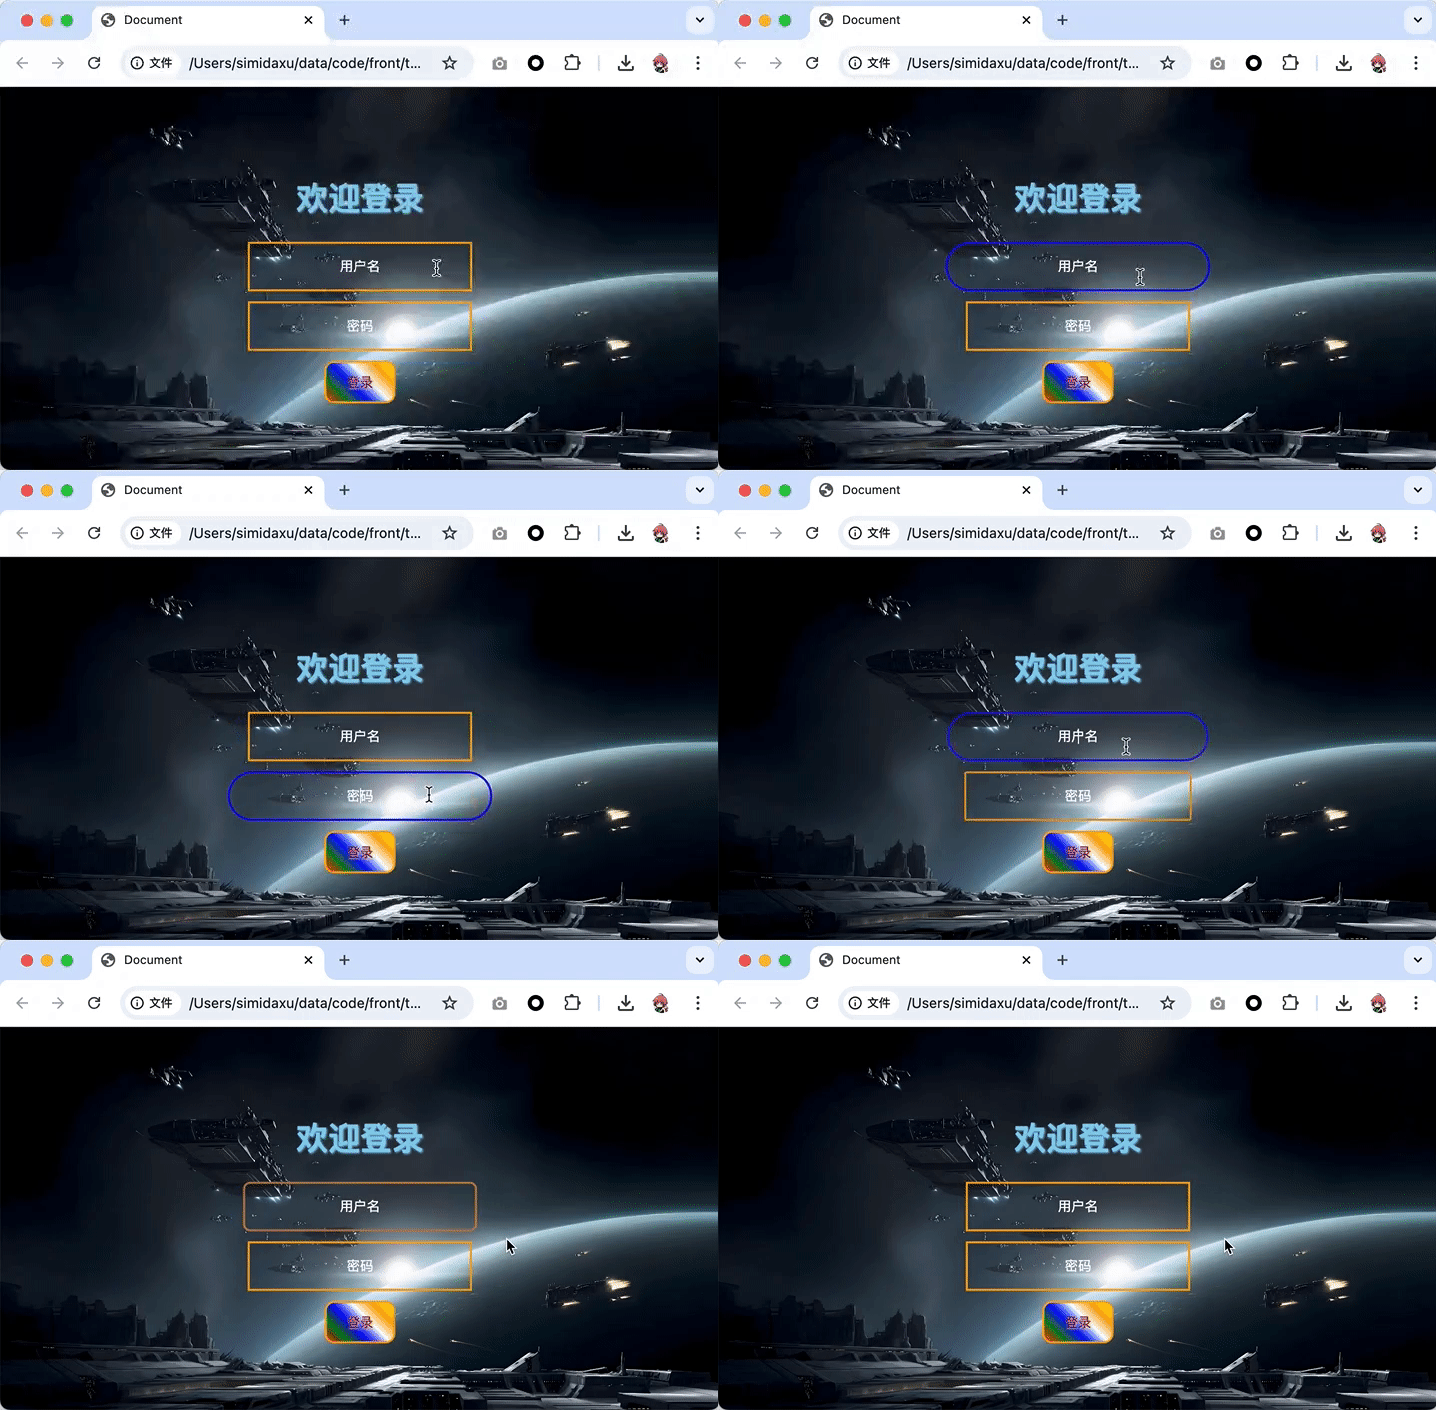
现在动画比较生硬,可以通过设置延迟来改善
.input_text {
    /* 省略之前的样式 */
    transition-duration: 0.5s;
    /* 增加0.5s的改变延迟 */
}
hover
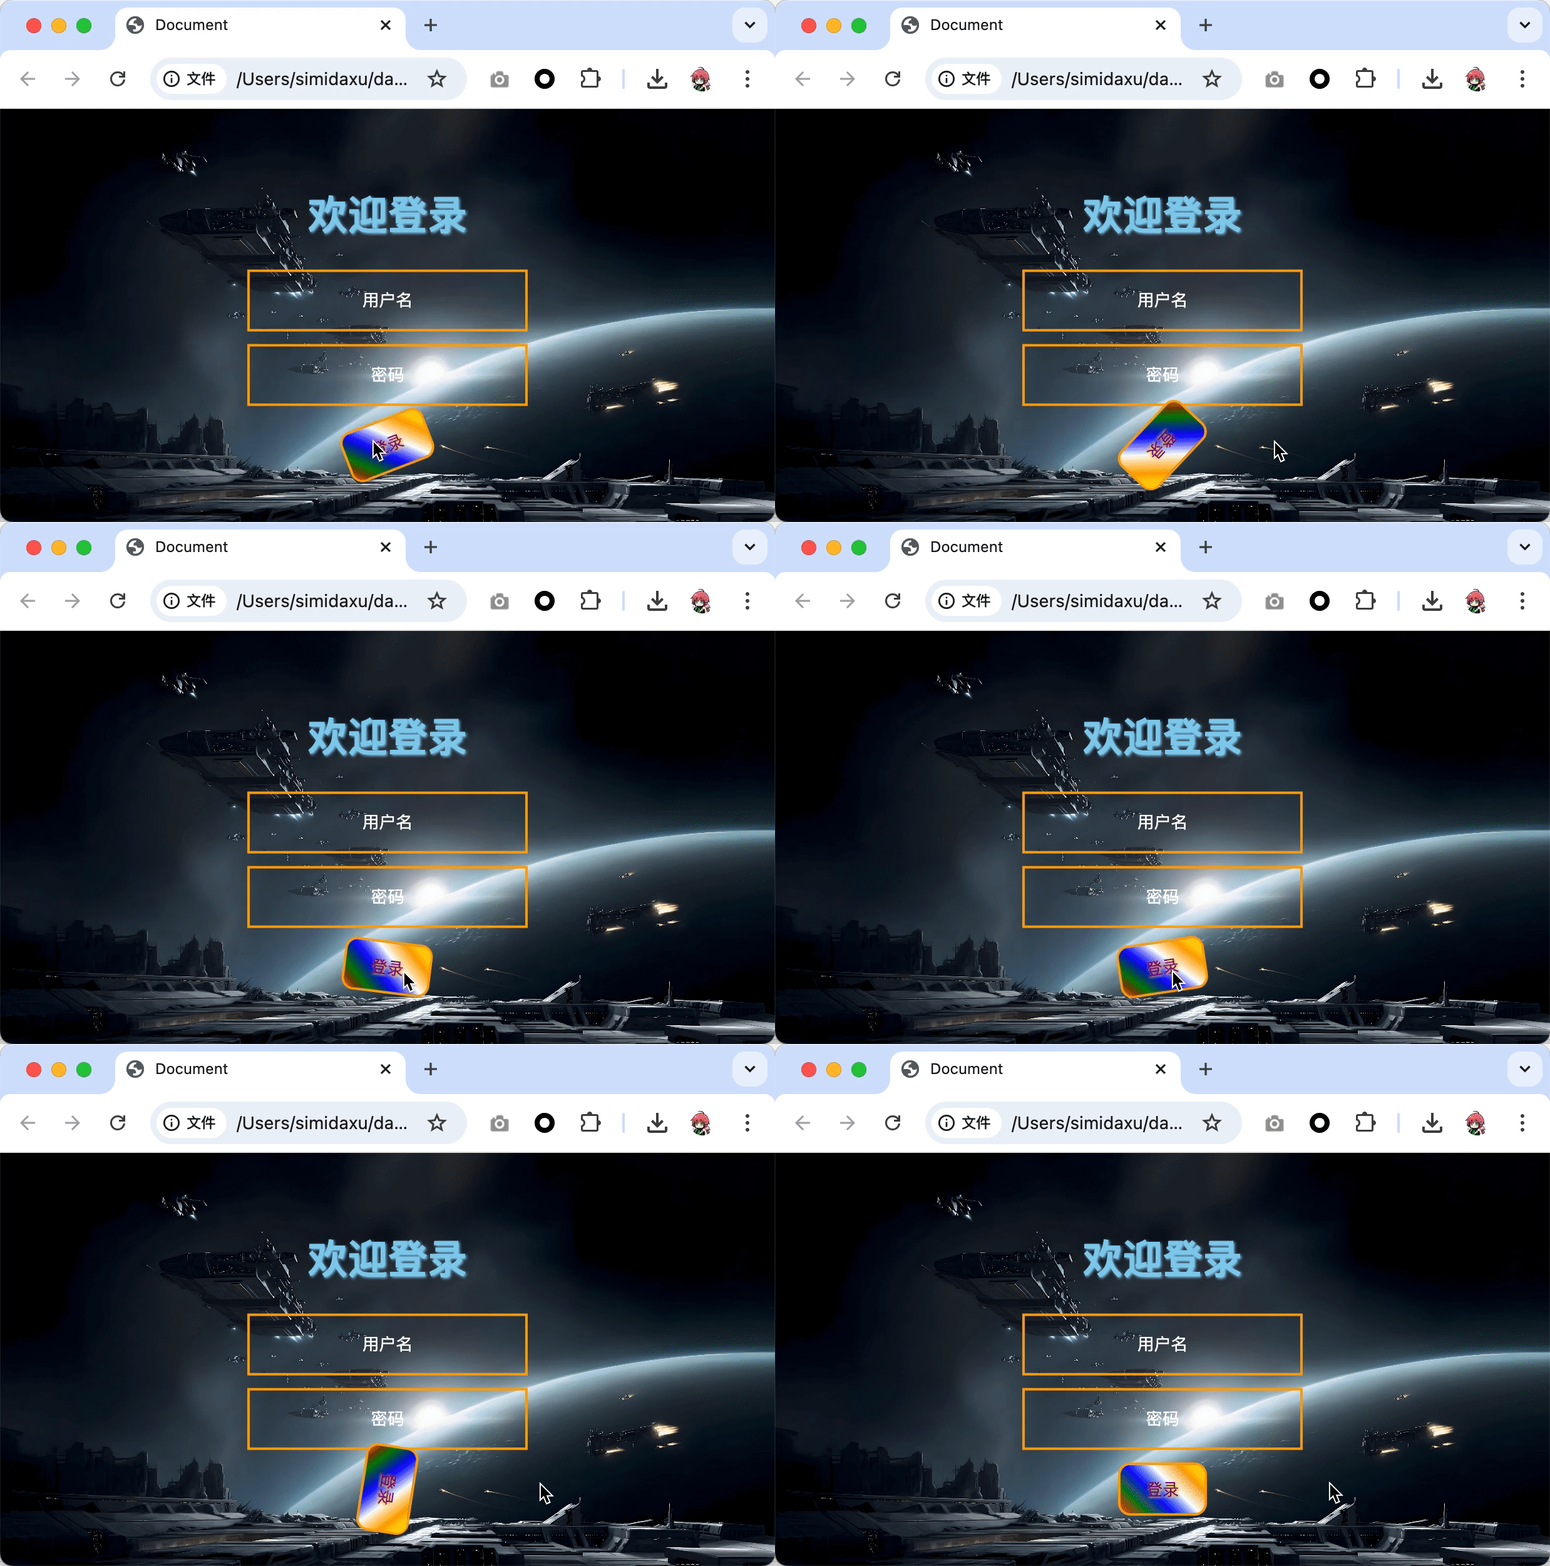
当鼠标停在上面的时候
#login_btn {
    /* 省略之前的样式 */
    transition-duration: 0.5s;
    /* 增加0.5s的改变延迟 */
}

#login_btn:hover {
    transform: rotate(360deg);
}
效果如下
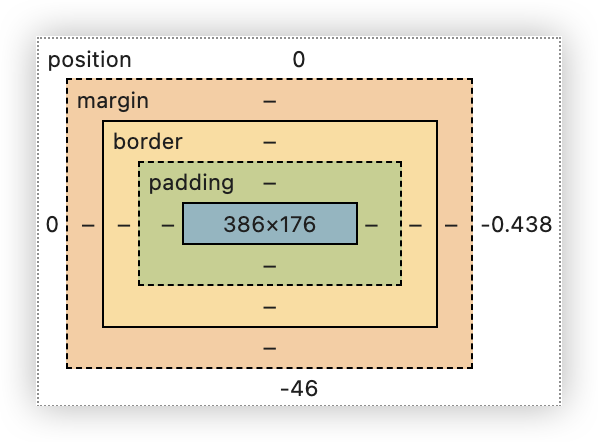
盒子模型
在html中,每一个元素都有盒子模型
- 盒子中间是内容
- padding:内边距,内容与边框的距离,调整元素内部的布局
- border:边框
- margin:外边距,边框外面的距离,主要调整元素之间的布局
